Difficulty labels are our route-planning assessment, not an official in-game rating. Your selected mode and movement comfort will change the experience.
Encounter ledger
Boss order, arenas and primary test
| # | Boss | Arena | Guide difficulty | Primary test |
|---|---|---|---|---|
| 1 | Wrath | Howling Geode | Introductory | Large telegraphs, ground shockwave jumping, and learning safe recovery windows |
| 2 | Guayota | Prison of the Beast | Moderate | Close-range pressure management, magma pool avoidance, and wall-grapple escapes |
| 3 | Sadness | Amphitheater of Tears | Moderate | Arena positioning under acoustic waves, illusion decimation, and tear rain evasion |
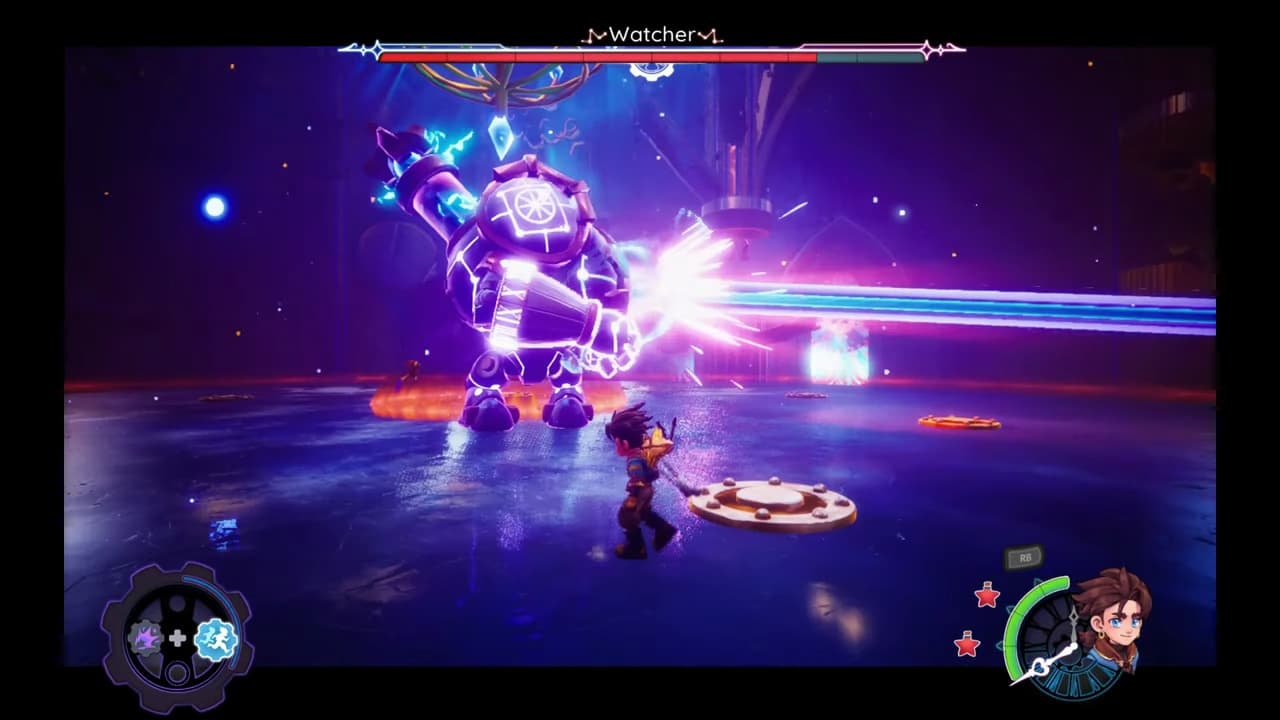
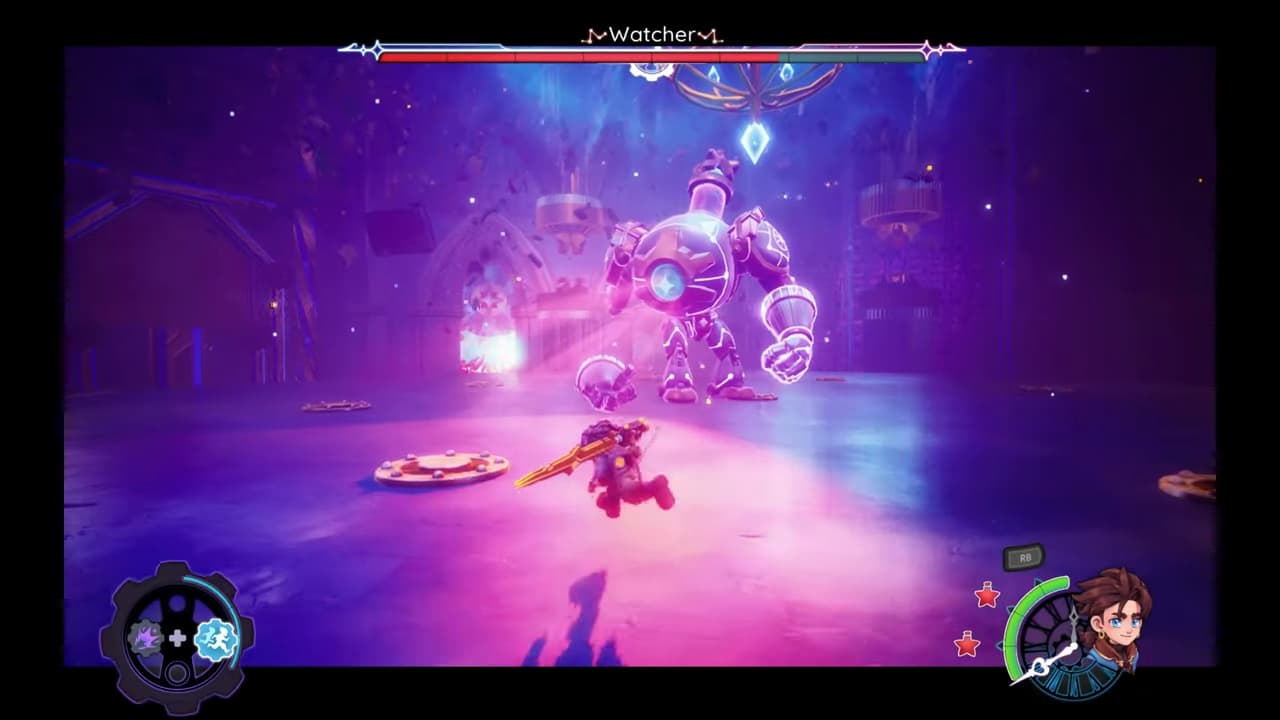
| 4 | Watcher | Scriptorium of the Twelve | High | Red shield phase timing, vertical platform navigation, and horizontal laser dodge routes |
| 5 | Guilt | The Observatory | Moderate | Observatory hazard cycles, gravity shift adaptation, and punish windows |
| 6 | Father Gaoth | Veiled Chambers | High | Teleport cues, shadow blade parrying, and endurance resource management |
| 7 | Solitude | Clockmaker's Rest | Moderate | Narrow recovery windows, counter-parry awareness, and arena clock-blade dodging |
| 8 | Anchored Wilhelm | Chronos Aeternum | High | Overlapping temporal vortexes, anchor ground pound shockwaves, and multi-wave survival |
| 9 | Alliras Despair | The Tower | Finale | 3-phase epic battle, Five Chains bind mechanics, bullet-hell dodging, and the final escape run |
Universal plan
Three habits that preserve attempts
- Use the opening cycle to learn tells instead of forcing a full combo.
- Dodge the attack, then punish the recovery; do not spend both mobility and offense at once.
- Reset the camera and your arena position before the next hazard overlaps.
Detailed records
Open a fight guide
Wrath
#1Howling Geode
The first major boss encounter of Duskfade, fought inside the crystalline cavern of Howling Geode between Starstone Mines and Mount Cinder. Wrath serves as the foundational test of telegraph recognition, double-jump avoidance, and combo punishment.
Guayota
#2Prison of the Beast
Guayota is an aggressive quadrupedal magma beast encountered in the subterranean Prison of the Beast directly following Mount Cinder. The fight demands tight charge evasion, grappling hook repositioning, and perimeter wall kiting.
Sadness
#3Amphitheater of Tears
Sadness is a sorrowful marionette boss fought in the Amphitheater of Tears inside the Clockwork Academy. The battle tests crowd control, illusion identification, and timing attacks through raining tears.
Watcher
#4Scriptorium of the Twelve
The Watcher is a mechanical sentinel in the Great Library's Scriptorium. Featuring impervious red energy shields and multi-lane horizontal lasers, this is one of Duskfade's definitive skill-check encounters.
Guilt
#5The Observatory
Fought atop the celestial dome of The Observatory between Canal Hamlet and Celestial Kingdom. Guilt uses gravity inversion fields, orbiting meteorites, and pendulum blades.
Father Gaoth
#6Veiled Chambers
Father Gaoth is the ancient archbishop of the Auric Palace, fought in the candlelit Veiled Chambers. A relentless duel requiring sharp reflexes, sound-cue listening, and counter-attacks.
Solitude
#7Clockmaker's Rest
Solitude is an agile mechanical swordsman guarding the entrance to Desert of the Last Memory. It tests close-quarters rhythm, dodge reaction times, and parry discipline.
Anchored Wilhelm
#8Chronos Aeternum
Anchored Wilhelm is the penultimate boss of Duskfade, fought in the submerged ruins of Chronos Aeternum. Wielding a massive anchor linked to temporal chains, this is an intense test of endurance and spatial awareness.
Alliras Despair
#9The Tower
The climactic final boss of Duskfade, fought at the summit of The Tower. Fusing the dark corruption of time with Allira's trapped soul, this 3-phase battle is followed immediately by the iconic Tower escape sequence.
Mechanic spotlight
The Watcher's red shield and laser route
The fourth boss is the clearest movement-mechanic check. A red spherical field marks a protected state; wait for an exposed recovery window. When horizontal laser lanes cut across the room, use the edge and raised platforms to change height, then return only after the central lane is readable.
Open the Watcher frame-by-frame guide →